Well, I know it’s not as good as the ACTUAL page being on time and finished, but I’m catching up on a bunch of different projects lately, sooo, this is is what I got! I hope you guys don’t find this image to spoilery, I thought it would be a good page to give you, my readers, a “behind the scenes process” of how I go about making a comic page. I’ve been telling people for a long time that I was going to do this, but STILL haven’t done it, so finally, I can say that I have. I hope to continue these posts whenever I have the time, and add to what I’ve started here. I hope to do a few inking demos on YouTube soon, along with some perspective tutorials.
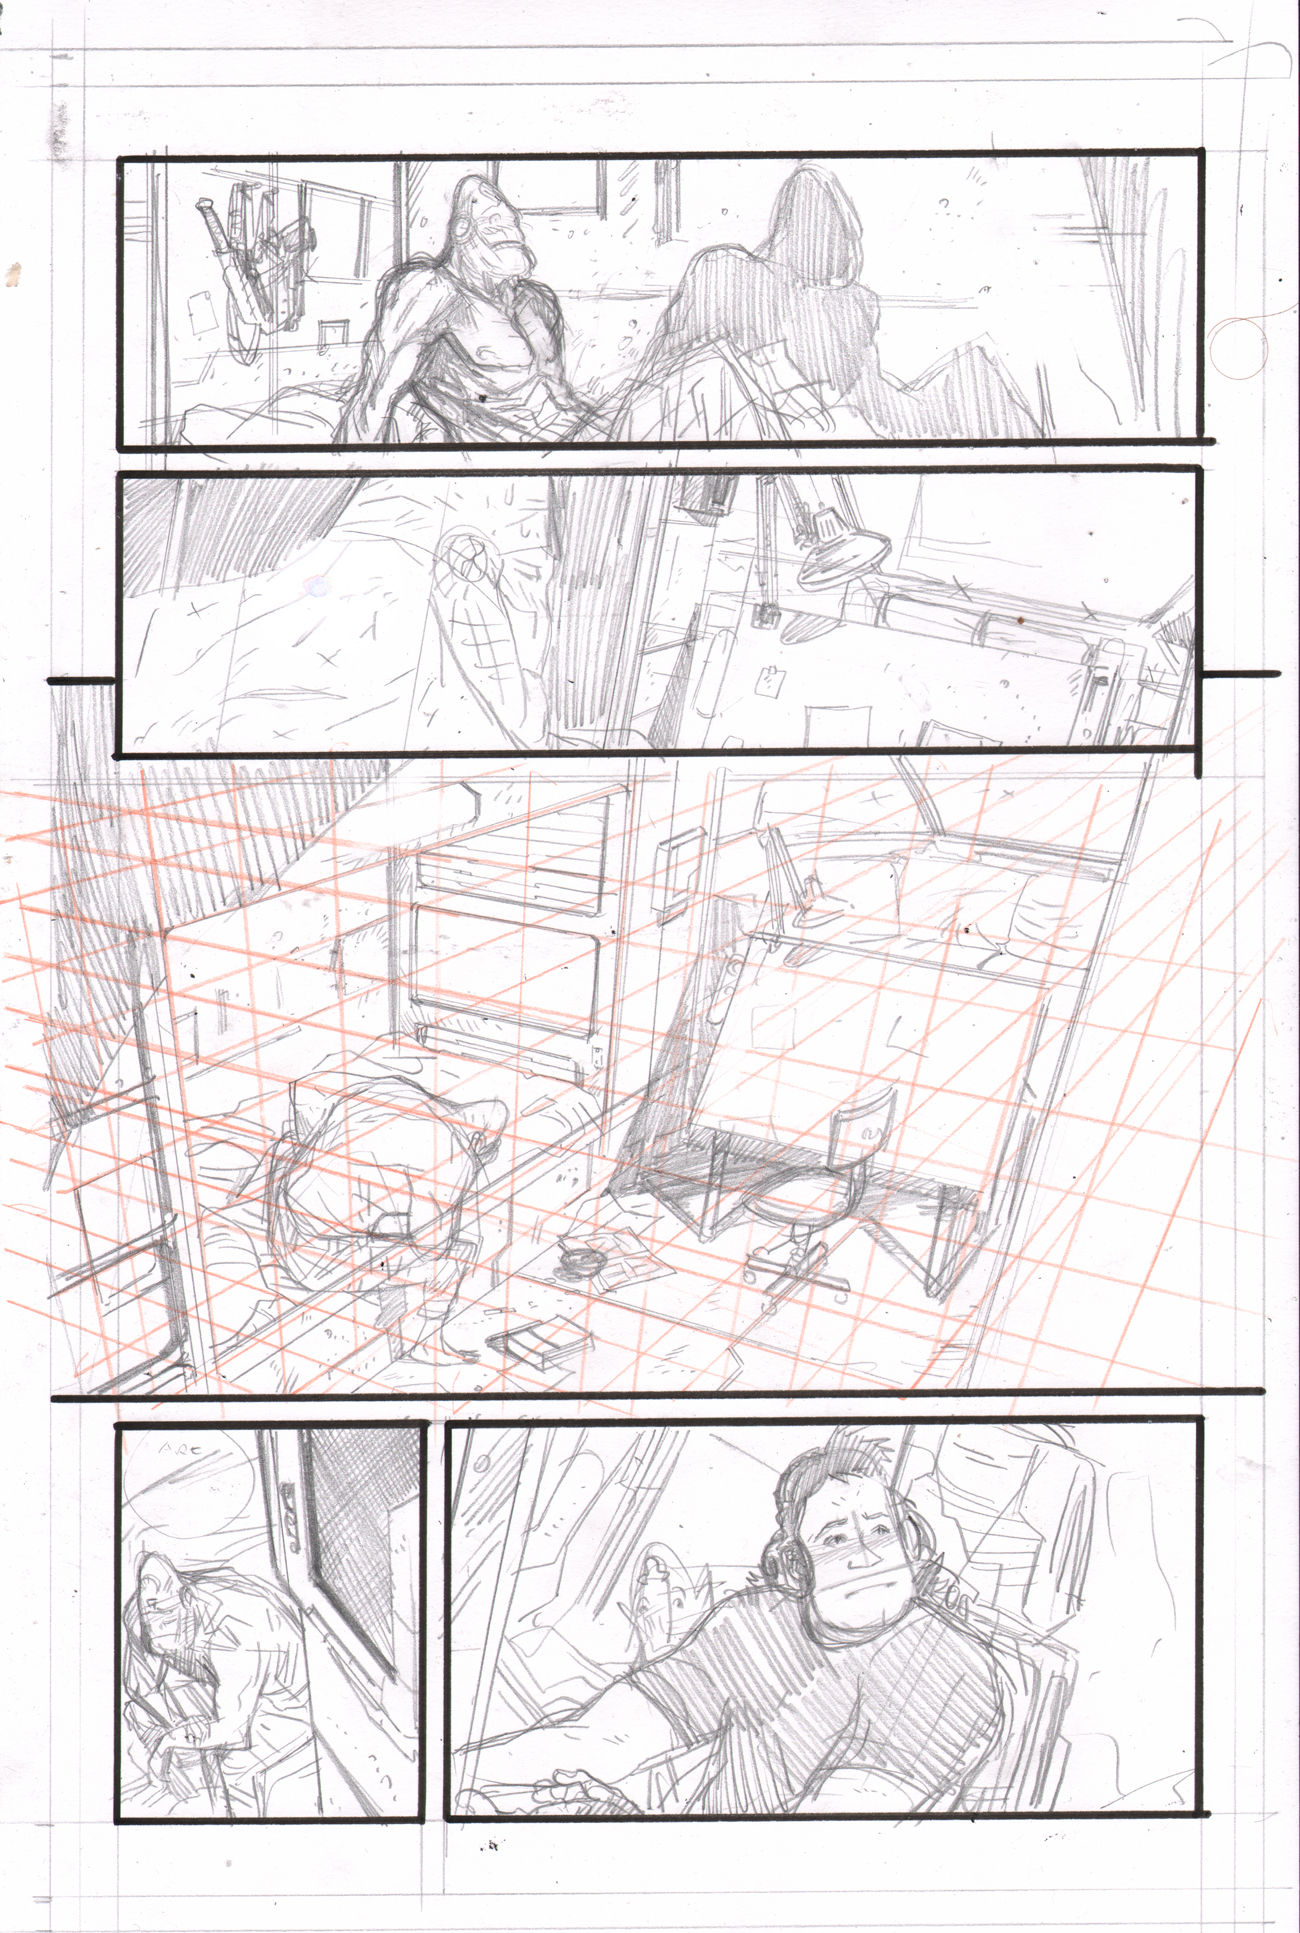
Anyway, what you see here is how most of my pages look when I finish the pencil stage. Depending on the necessary detail or figures in a scene, I’ll add more or less hours into it. Mostly it comes down to how much time I have. That being said, I’ve found that the more time I spend on pencils, the easier inking is for me (But there are many who would disagree I’m sure. This is just how I prefer it.) More hours come when I have vehicles or intense backgrounds that need a solid foundation of pencils before I move to inks. This page took me about 1.5 hours. If somebody else was inking, I would have to make this WAY tighter, but inking myself gives me a ton of wiggle room. I like how these look because their so sketchy and loose. I feel like what you see in my pencils is most “me”, if that makes sense. A lot of my inking style is me trying to emulate the energy and passion that I feel that my pencils have.
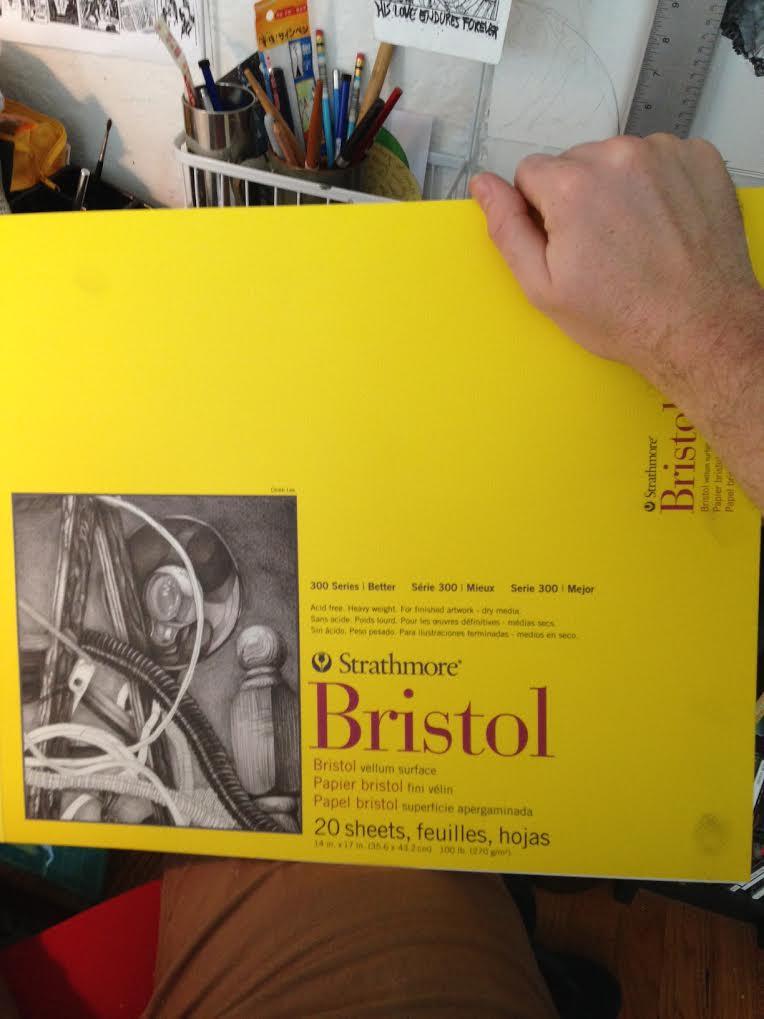
As far as paper goes, I ALWAYS use Strathmore 300 vellum. Always. Since I pencil and ink on the same board, I need something that I can enjoy penciling on. I hate penciling on smooth paper, and since I love the pencils process, I need a vellum sheet. the 400 and 500 series by Strathmore are nice, but too rough for me to ink on. 300 is a good in between.
The first part of this page is to thumbnail it. I would show my thumbnail, but it’s so sketchy that I’m sure that I’m the only one who could make sense of it. As long as I have something in front of my that I can visualize and understand, it’ll work for me. This stage is where I figure out (roughly) where my vanishing points are. A lot of the time, especially in a 3 point perspective scene, (Like in panel 3) ALL the vanishing points are out of sight, or “off the page”. Depending on how far away a vanishing point is, I’ll do this. (super jankety I know)
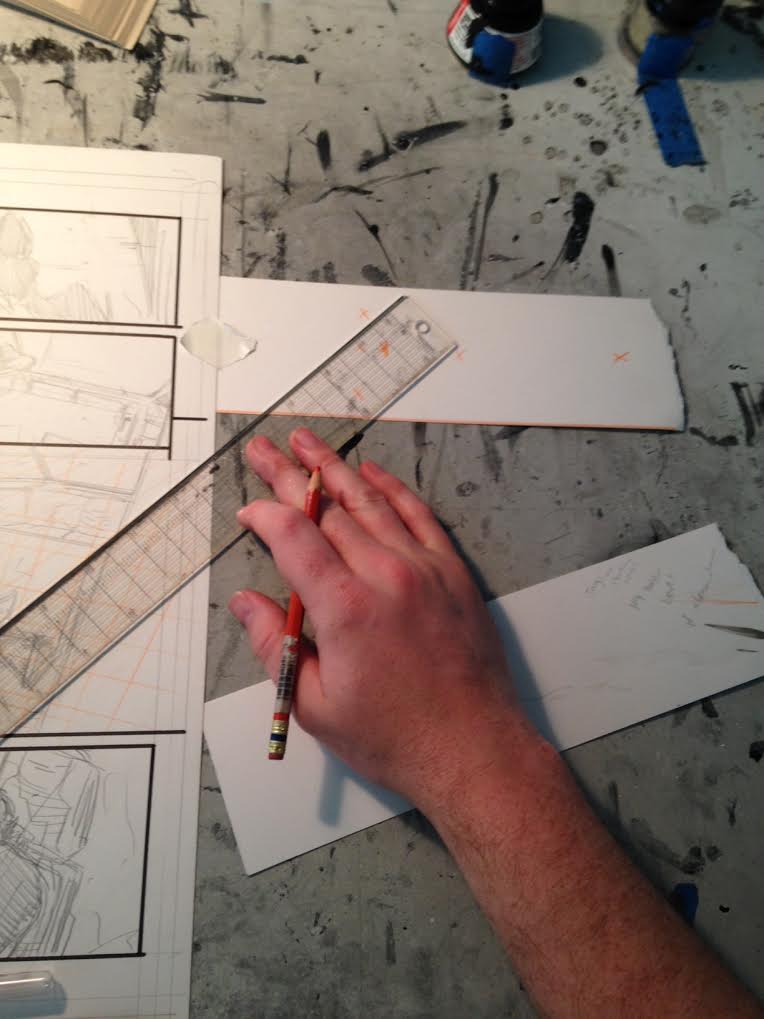
I’ll use some artist tape and use some scrap paper to place my VP, and create my grid from there. I always draw my grid with an orange Prismacolor pencil, so things make sense when I use a lead holder with HB lead. I make sure to finish my entire grid and see that it looks right before I start penciling.
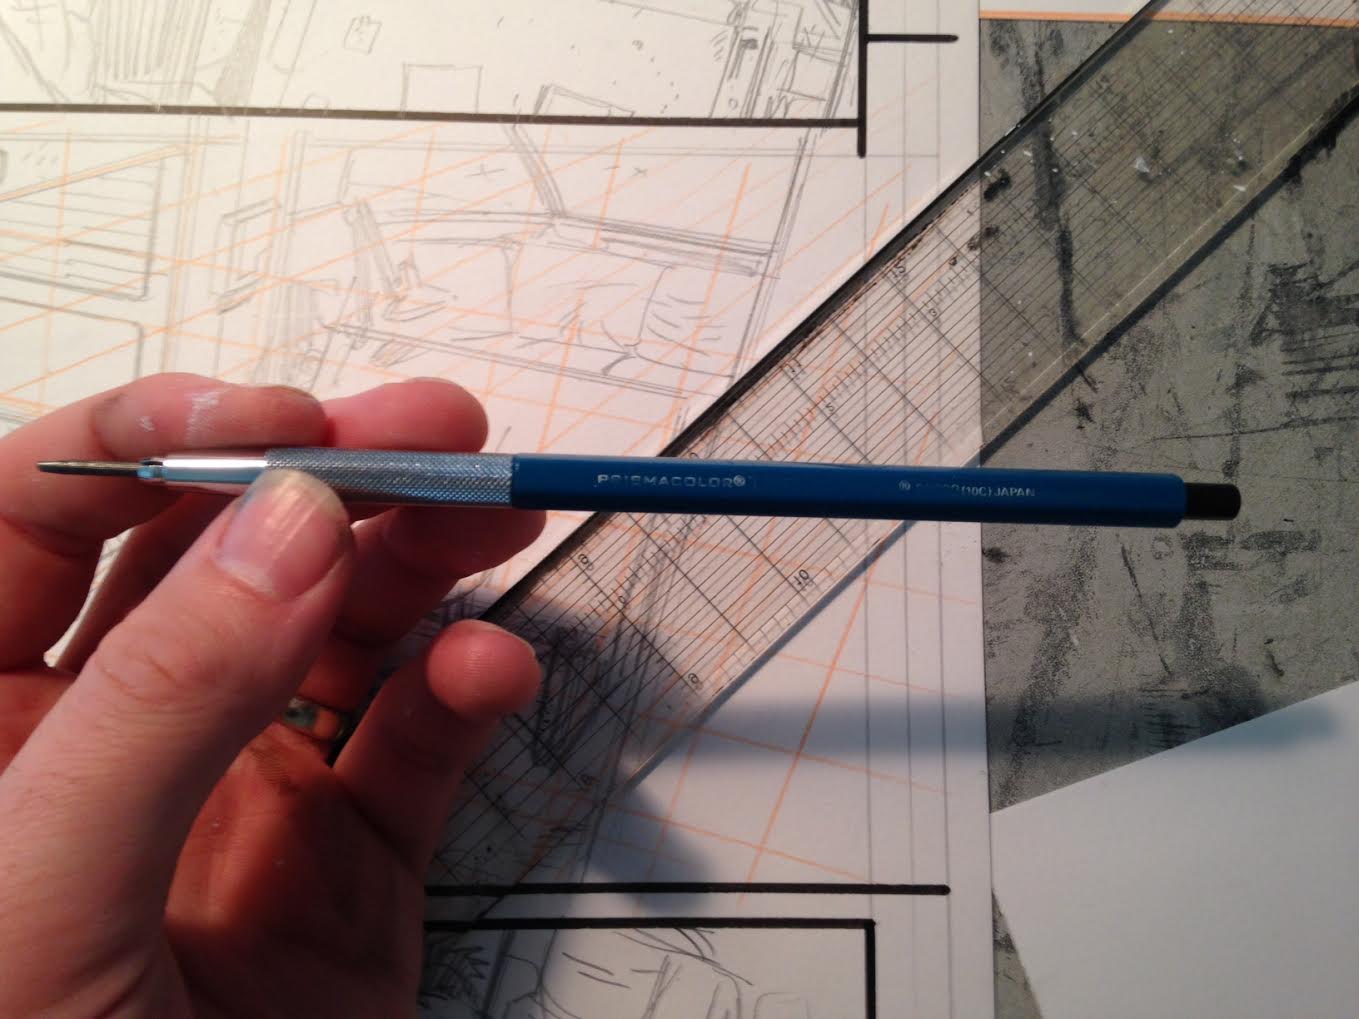
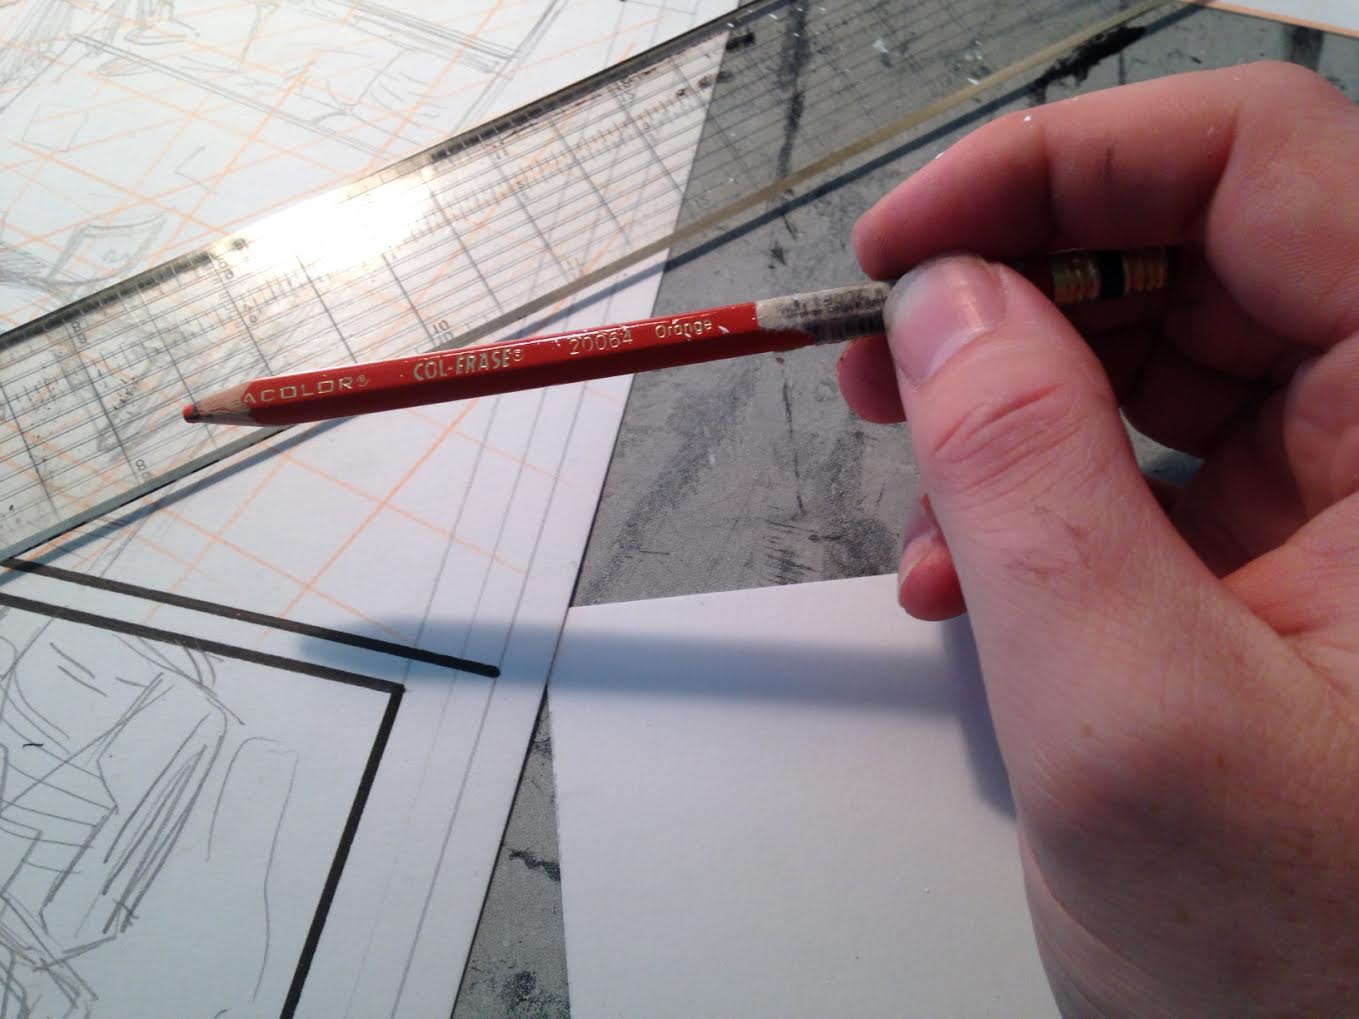
There’s another way to create a grid without the use of a vanishing point (which I use every day), but it’s a bit hard to explain over a blog post. I want to do a video tutorial about it, but until then, you should check out THIS BOOK. It helped me tremendously when I was just starting out, and I still refer back to it today. It breaks down perspective in a way that’s easy to understand while also mapping out how to best re create it on a 2D plane. Also, I always use a ruler that is see through, so I can create paralleled and perpendicular lines without the need of a T square all the time. I love this ruler, (just a cheap one from Hobby Lobby) but it does the job and I don’t plan on ever using another one.
And last but not least, here’s a shot of my in-apartment studio. It’s a bit messy, but good for the creative juices. I have a Cintiq 21 UX that I use for thumbnails and for more corporate-esque client work, and a LOT of comics. I had an Akira comic out on my desk today for inspiration, and it did wonders for my work ethic.

That’s about it for a behind the scenes look! In other news, I did a pin up for the trade paperback of the Image Comics series UNDERTOW, which you can see below. Please consider ordering it! The Diamond Order code for UNDERTOW Vol. 1 is JUL140518 You can also pre order it on Amazon HERE.

Okay! See you all wonderful people with the COMPLETED page on Thursday!
Dude! This is an awesome update! It is way cool to see the page in the raw and read about the process as you create the finished product! Though i have to say… As a guy who loves to doodle in pencil (never managed to get ink to behave correctly), i love seeing the lines and detail in lead… it just evokes a different emotional response to the work… thanks for the “behind the scenes” look!
Thanks so much for posting this, Daniel. I got lots of great info from you. It is always a pleasure for me to see other artist’s creative processes.
Thumbs up!!
Not a mermaid, merman I say merman! Anyway, thanks for sharing man!
Again thanks for sharing the process an tools. I really enjoy seeing these because it gives me confidence in the way i do things.